Skiing 101 with the Rzepkowski’s
Sun, 20 January 2008
Saturday was great fun as the kids and us joined Andy and Nolan White over at Swain for some skiing. It was our first time in 2008, so we worked a few kinks out to be sure. Tricia blogged our ski trip so I’ll just touch on my personal highlights.
Mason Made Huge Strides
We’ve got Mason signed up for ski lessons at Powder Mills Park in February. So, I really didn’t want that to be the first time on skis this year. Mason started out very hesitant, expecially when it came to learning the magic carpet. Apparently this was the first time Swain has had one operating, so even the staff was unfamiliar with how to tell kids to ride it. The best tip ended up being to have the kids put their hands on their knees.
Although I’ve skiied since Mason’s age, teaching someone to ski is a whole different enchilada. The magic ticket ended up being Nolan. He is 5 years old, and Andy has taken him out a few more times than Mason has been out. So, when Mason saw that Nolan can ski by himself, and wanted to ride the big lift, Mason’s competitive fire was lit. I got to share Mason’s very first chairlift ride, and it was great to see the wonder in his eyes when we floated up into the air above the ski hill. To get down the hill I either had him ski between my legs, or the better approach, ski beside me using my ski poles as a support bar.
While he won’t ski the big hill by himself yet, Mason was begging to come back for more by the end of the day. You just can’t ask for a better outcome!
Taking 2 Boys on the Lift is a 2 Person Job
Anna, our litle dare devil wanted to go onto the big hill. Andy wanted to impart some skiing wisdom on her because kids never want to learn from their dads. So her first chair ride was with Andy. I thought it would be a great idea to take the two boys up on the lift to join them. Let’s just say lifting two boys onto the seat and getting myself on was not a great idea. It was one of those moments where you realize it was a bad idea, but there was nothing to do but follow through. Luckily the lift operator slowed it down so that I could lift on Nolan, then make a quick pivot to lift on Mason. This whole time I’m flashing back to my favorite guilt trip I lay on my dad for dropping me off the lift when I was a kid. Well, I think now I might just go a little easier on that joshing.
Hmmm…Something is Missing Here…
Tricia also wanted to join us at the top of the big hill. So, after watching the hilarity of me and the 2 boys, she ended up 3 chairs behind. When she got off the lift she couldn’t stop talking about how freaked out she was being up so high in the open air. Because she’s a beginner I thought for sure she was talking about the relative freedom when you put up the safety bar near the last pole. I thought nothing of it. When we were on the way home, we started recapping our day. She kept talking about how unfomfortable she was being out in the open. Then the revelation…She said, “They should really have saftey bars on those things”. I said “They DO have safety bars, didn’t you put it down after you got on?” That’s when the lightbulb went on for both of us:)
I think we’ll all be doing a lot more skiing together this winter. I’ve uploaded some pictures of the ski trip.
Posted in: Life, Skiing | 2 Comments »![]()


 however, slowly I could feel my nerves subsiding and some semblance of a swing return. By the 8th hole I was hitting some shots and taking some putts. The great news was that we had some excellent golfers on our team, especially Michael Morrow from Kelly. At the turn we were in a tie for 3rd place in the tournament!
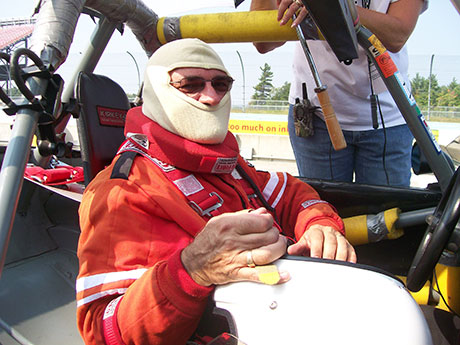
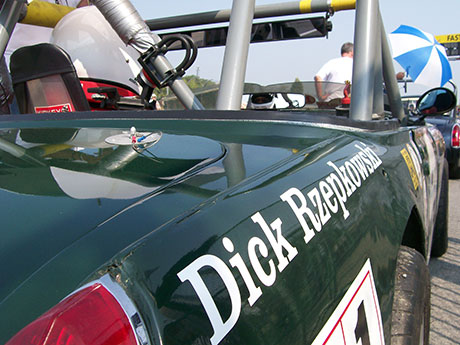
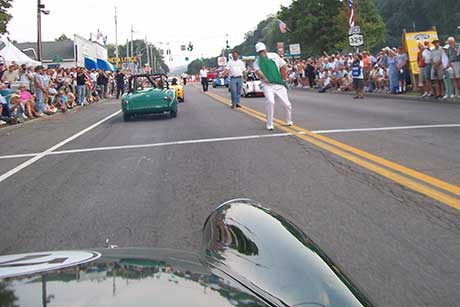
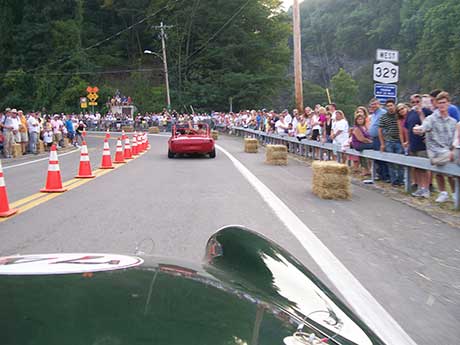
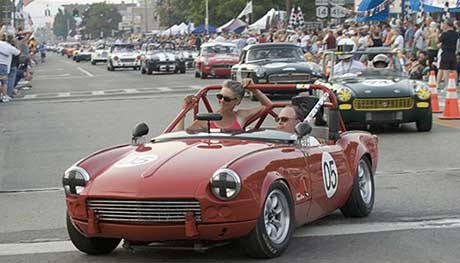
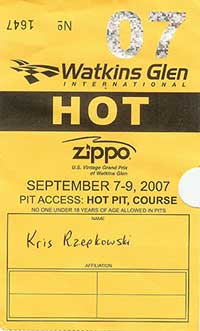 The bad news from the previous day had been that he was disqualified at the tech inspection for illegal coil-over springs (his vintage car is supposed to have leaf springs) and therefore couldn’t place in any of the races. They still let him race though as ‘Racer-X’, which was nice of them considering he paid for the privilege. The other bad news from the previous day was that he only made it through 2 laps of his test before blowing a rotor. A rotor, as I learned after hearing the story MANY times, is a $3 plastic part that spins under the distributor cap delivering spark to the plugs. He changed the rotor and the car was now ready to go for the day’s qualifier.
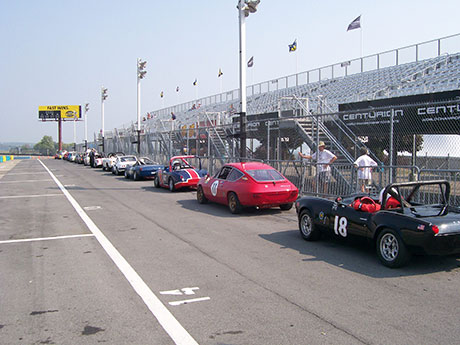
 .
.